Thomas Henson

  • Data Engineering Courses
    • Installing and Configuring Splunk
    • Implementing Neural Networks with TFLearn
    • Hortonworks Getting Started
    • Analyzing Machine Data with Splunk
    • Pig Latin Getting Started Course
    • HDFS Getting Started Course
    • Enterprise Skills in Hortonworks Data Platform
  • Pig Eval Series
  • About
  • Big Data Big Questions

New Video Series: Isilon Quick Tips

December 27, 2016 by Thomas Henson 4 Comments

How can I protect my data in HDFS?

What is Isilon and how does it work with HDFS?

In the coming post I will explain how Isilon makes Hadoop so much easier to manage. First I thought I’d cover the basics on Isilon in my Isilon Quick Tips series below.

Isilon Quick Tips

Hadoop Career

Over a year ago I switched teams to join Dell EMC working on the Data Lake team. One of the platforms I work with is the Isilon Scale-out NAS (Gartner #1 in Scale-out NAS). It’s a really mind blowing system that supports HDFS as a protocol but also NFS, SMB, REST, SWIFT, HTTP, FTP protocols as well. Think of being able to move data into HDFS by just moving a file in your Windows environment. Oh and by the way it scales up to 90 PB of data (talking about BIG DATA).

What makes Isilon so awesome isn’t just the hardware but the software that runs Isilon. OneFS is the software that gives Isilon it’s power to store data at astronomical heights. One file system or OneFS is key to giving developers the ability to access Hadoop data thru HDFS using other protocols. Think about not having to land your data on your machine before ingesting into to HDFS. All of this is possible because OneFS treats HDFS as a protocol not storage system. So data can sit on Isilon, but be read as HDFS.

A huge benefit to using Isilon for HDFS storage is the when replicating data for data protection. I’ll follow up with a blog post dedicated to data protection in Hadoop in the future. Just know Isilon provides that missing piece in Hadoop for replication and data protection. Want to replicate or copy over 20 PB of data? No problem just use SyncIQ in OneFS.

Share the Isilon Knowledge

Along the way on the Data Lake team I’ve acquired some knowledge about managing Isilon clusters and wanted to get it out to the community. All these demos can be done using the Isilon Simulator on your local machine. The demos are meant to be easily consumable and all should be around 5 minutes long with a few outliers that bump up to an hour.

Isilon Quick Tips Videos Links

  • Isilon Quick Tips: Demo using SnapShotIQ to retrieve delete files with Windows Shadow Copy
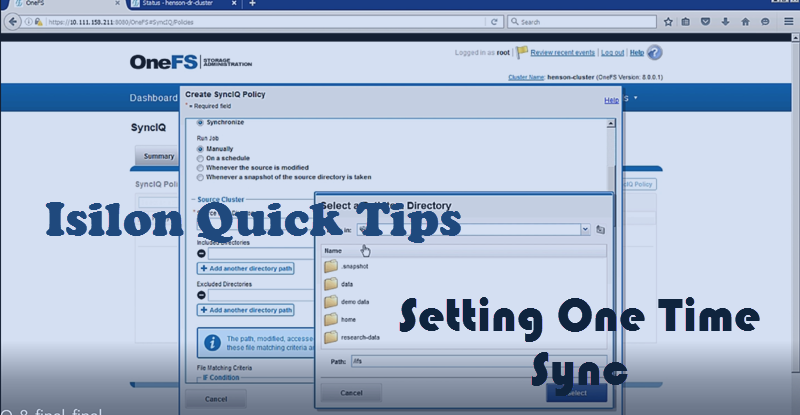
  • Isilon Quick Tips: Quick walk through on setting up a one-time SyncIQ job in OneFS
  • Isilon Quick Tips: Deep Dive into SyncIQ options for customizing your backup strategy
  • Isilon Quick Tips: Setting SmartQuotas to manage capacity on your Isilon Cluster
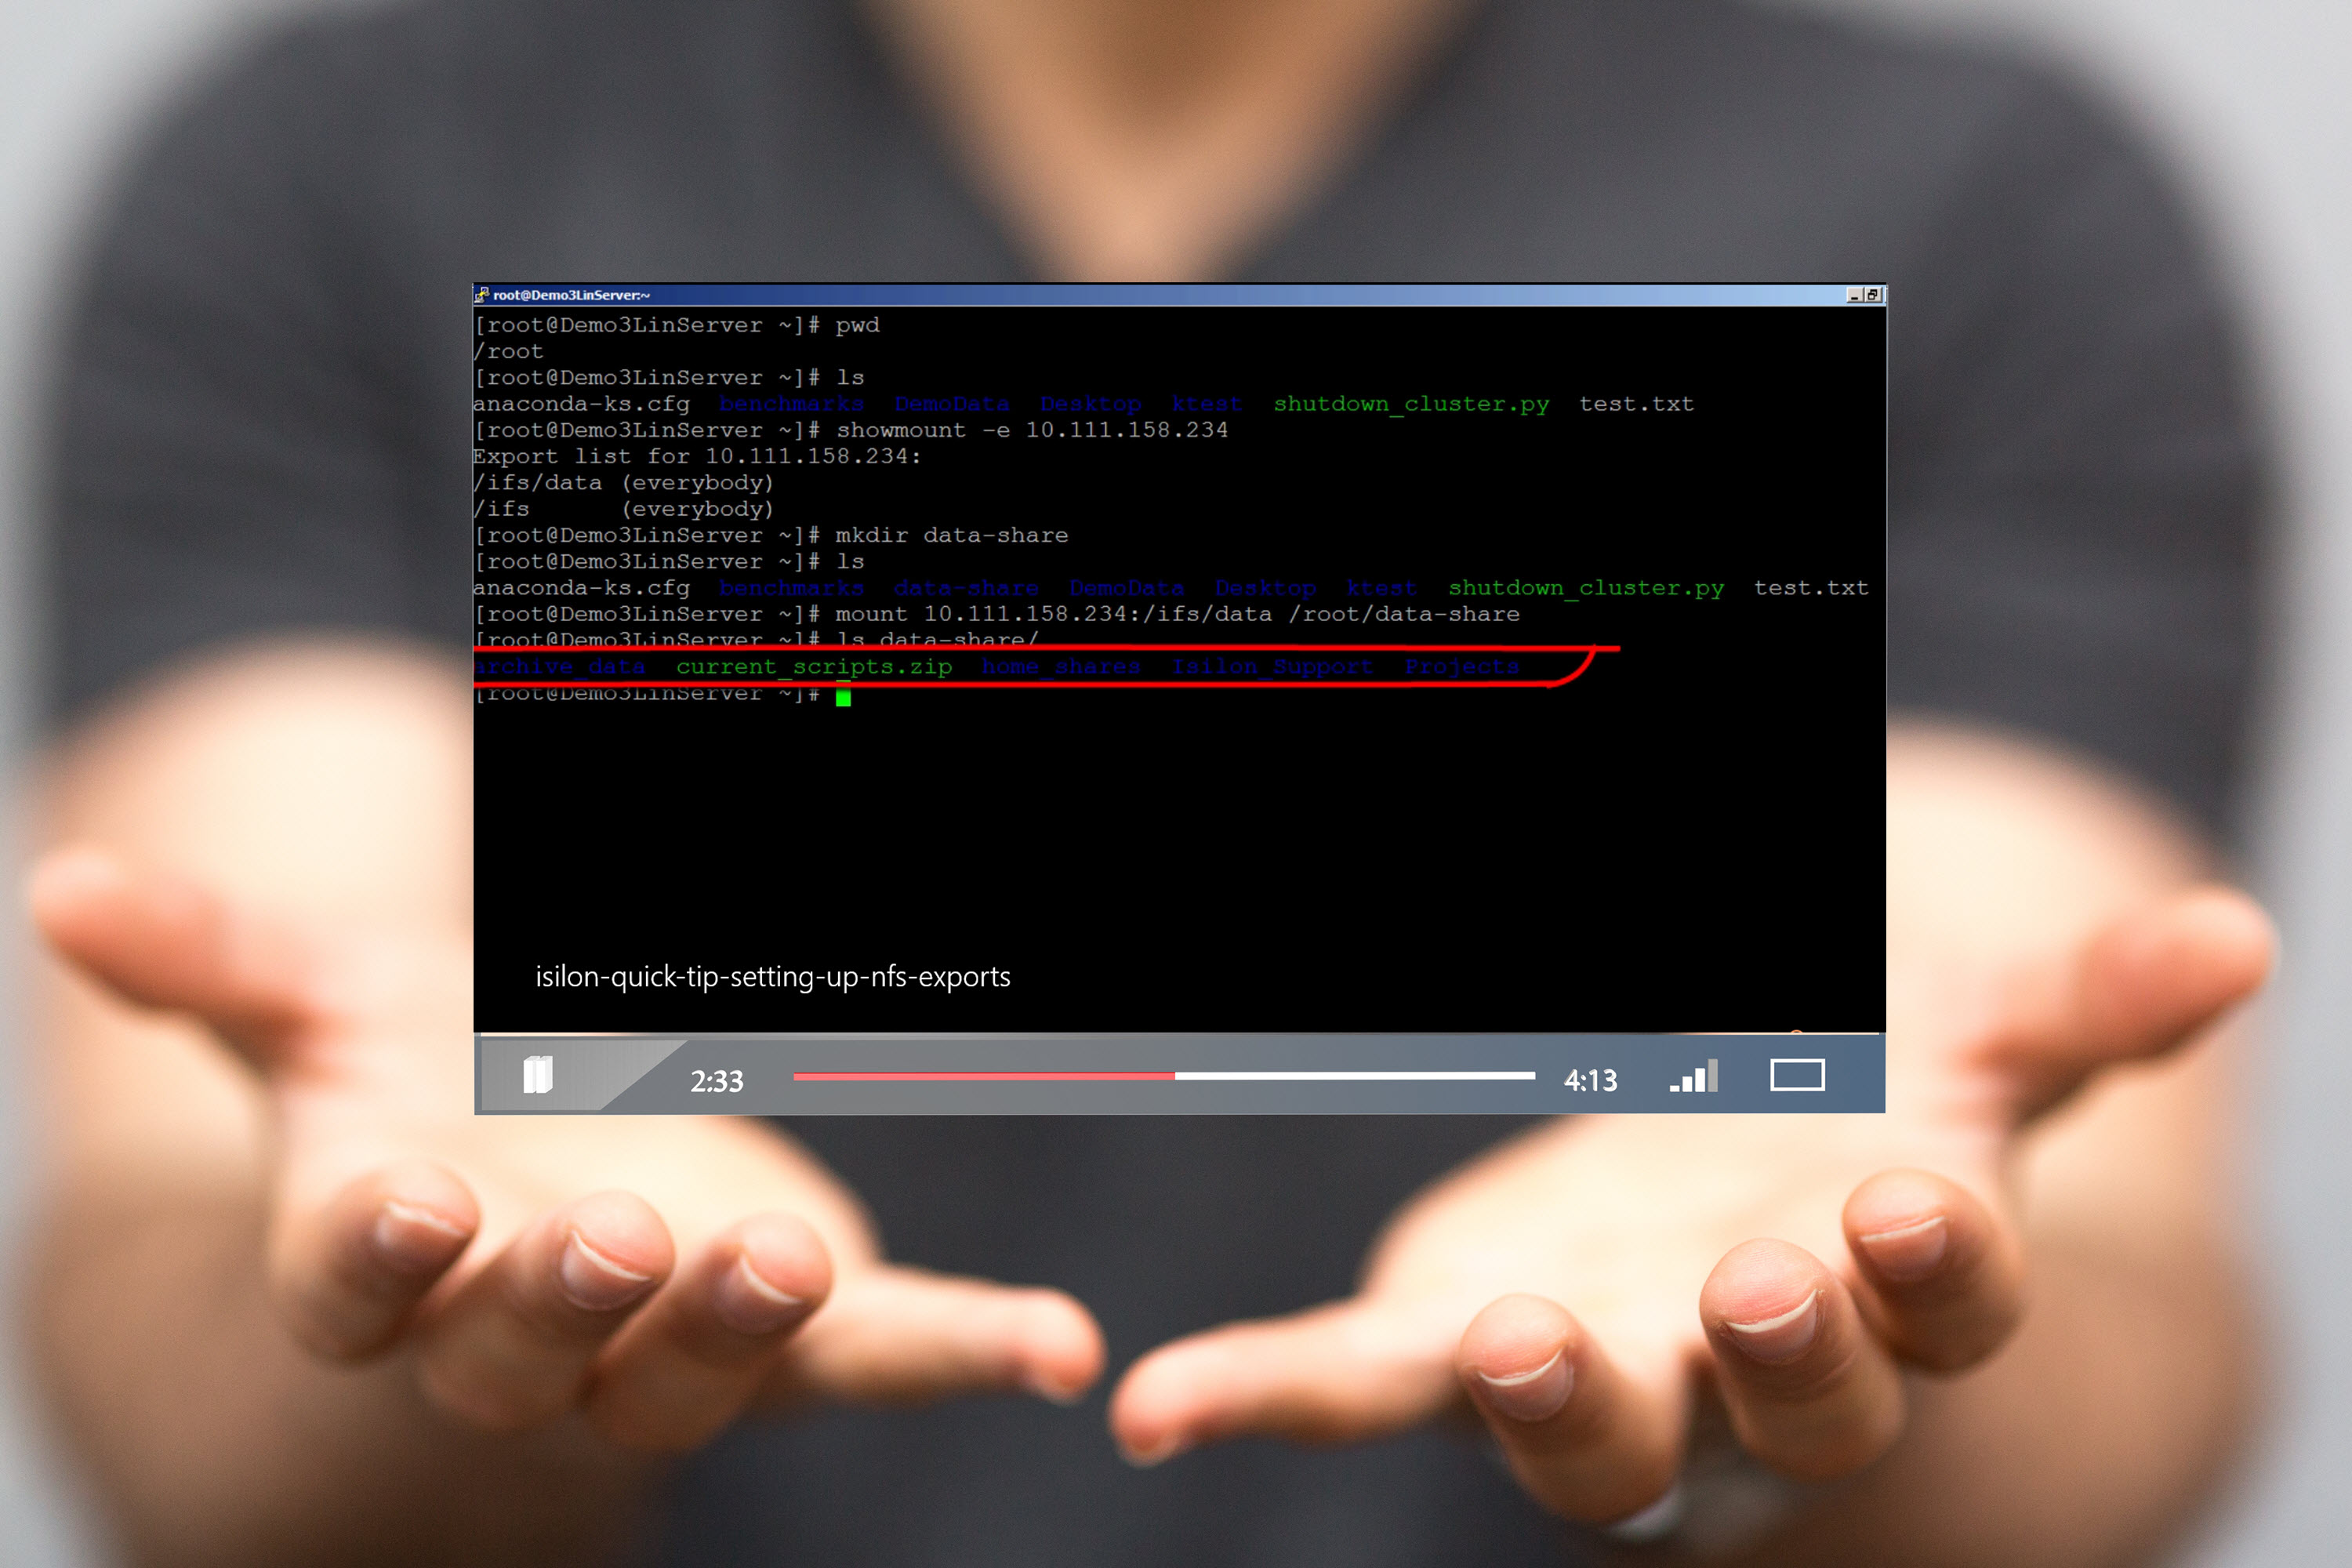
  • Isilon Quick Tips: Learn how to setup an NFS export in OneFS
  • Isilon Quick Tips: Changing Password through the Web interface in OneFS 8.0
  • Isilon Quick Tips: Setting Up SMB Shares in OneFS
  • Isilon Quick Tips: Enabling FTP in OneFS
  •         Isilon Quick Tips: Compare Snapshots in OneFS 

Be sure to subscribe to my YouTube channel to ensure that you never miss an Isilon Quick Tip or other Hadoop related tutorials. As always leave a comment or drop me an email with any ideas you have about new topics or things I’ve missed in my posts.

Filed Under: Isilon Tagged With: Isilon, OneFS, Quick Tip

Isilon Quick Tips: Change Password in OneFS 8.0

November 9, 2016 by Thomas Henson Leave a Comment

Transcript

How to change the password in OneFS 8.0 . Alright . oh so we’ll start here are management console want to navigate to the access tab and then the memberships
in roles once when our memberships and rolls we can select a provider to change the admin password I’m going to use the file system from here I can just view and edit the admin you can see I have many different options here so i can change the password I can change my home directory so what I’m going to do is I’m going to add my password and I’m going to select the bin . SH from my unix shell if you don’t select something here you’ll get an error and then I’ll just save my changes and I close this out will log out and we’ll try a new password and it worked and that’s how you change the password and one of this.

Filed Under: Isilon Tagged With: Isilon, Quick Tip

Isilon Quick Tips: Setting Up One Time Sync in Isilon’s OneFS

November 3, 2016 by Thomas Henson 1 Comment

Setting Up One Time Sync in Isilon's OneFS

Setting Up One Time Sync in Isilon’s OneFS

Transcript

Ever wanted to set up a SyncIQ job and OneFS? Well follow along in this tutorial here we are in our production cluster you can see that we have the name hints and cluster for this Isilon cluster and in DR cluster we have it named hensondr cluster and so now you can see we have two different ones that were going to try to replicate between now let’s look at some of the file shares to show us the data that we’re actually going to try to move we’re gonna be focusing on move in our research data so if we go to ifs research data our production cluster you can see we have a lot of different files but on DR site we don’t have any of those files so how can we replicate that demo data in the research folder over to our Isilon cluster we could just do a onetime sink so let’s go under the data protection sink IQ will actually navigate to the policies tab and then from here we can just create a simples SyncIQ policy so our policy name here we’re just going to name it research one time in our description will just say hey you know this is a one-time think that were moving the research folder will keep our job type is manual but we could run it on a schedule but we’re just doing a one-time snap here and so now we need to just pick our source directory so remember we’re doing that research data directory we’re going to worry about including or excluding folders we’re just going to sink all of them and now here’s what we’ll put in our target host if you remember back to our dr cluster it’s 10 . 111 that 158 . – 15 and so we’ll just internet target host name remember that your dr cluster and so that’s where we want to sink this so we’re going from production to dr and our target directory we’re just going to dump it into the IFS directory now we can just scroll down to the bottom will keep everything the same and now we are ready to create our policy and so our policy has been created but we still need to kick that job off so we can kick that job off actually just by clicking on this view edit tab and start job so you see we got a green check saying hey our policy job has been scheduled starting now if you see under the summary tab we’re starting to move data it’s going to take some time because we’re moving 10 gigabytes of data so depending on the connection speed and the other jobs that are running but after a few minutes that job will disappear from the summaries tab and you can navigate over to the reports tab and see hey the job was finished took a minute and 31 seconds now let’s verify it so we’re looking on DR cluster we can see that we have demo data folder and we have data in the folder let’s compare it with our demo data on our production cluster so research demo data we can see the folders match up so we just created our first thing I q job remembering your dr cluster all your files are read-only so if you’re going to read or try to ride any folders you can’t do that so in a fail over situation you can switch it to read and write but default it’s going to be only in a read-only mode so if you try to add a folder or any folders you’ll get an error saying that you can’t do that

Filed Under: Isilon Tagged With: Isilon, OneFS, Quick Tip

Isilon Quick Tips: Setting Up NFS Export in OneFS

November 1, 2016 by Thomas Henson Leave a Comment

Another Isilon Quick Tip, where I walk through setting up NFS export in OneFS. Setting up NFS exports is one of the baseline skills needed when working with OneFS.


NFS or Network File System is a protocol that allows file based access in a distributed environments. If you are familiar with Windows based systems it’s similar to the SMB protocol but mostly used in Linux/Unix environments. Chances are if you have any Linux/UNIX machines in your environment, you will have a need for using NFS exports.

When Do I Need an NFS Export?

Let’s jump into a couple use cases when you would want to mount an NFS export.

  • Suppose you need extra capacity on your local machine
  • Offload archive data to a network based file system
  • Allow for file sharing abilities for a group of users
  • Manage file access across a in a distributed environment
  • Large data transfers or access to large files across network

Setting Up NFS Export in OneFS

  1. Open OneFS WebGUI
  2. Navigate to Protocols –> UNIX Sharing (NFS)
  3. Click Create Export
  4. Select directory to be shared
  5. Click Create Export
  6. Mount NFS export on Linux/UNIX machine (see commands below)

Transcript

In this episode of Isilon Quick Tips, we’re going to focus on accessing NFS Exports from Isilon’s OneFS.

If you’re accessing Isilon from a Linux machine, you’ll want to make use of the network file system—or NFS—protocol. To do this, we’ll be using mount commands. But first, let’s set up a directory that we want to share out through an NFS export. All this will be done from OneFS web interface and a Linux command line. So, follow along.

From our Protocol tab, we’ll go to the UNIX Sharing or NFS. Within our NFS Exports, we’ll have one defaulted, and that default will be for our IFS directory. Remember, anything in that IFS directory is everything that’s in Isilon. So, that’s one that’s set up by default, but let’s set up one that is specific just to maybe our data. So, I’m going to create an export. We can select our path and we can go down as deep as we want. So, I could go into our data and do something off the home shares or some of the archive data. But I just want to set a top-level directory for just our data path and share this one out. So, I’m going to select ifs/data, and then this is all of our data in Isilon. You don’t have to set a description. It’s just good once you start managing quite a few of these. You want to be like, okay, you can look at it and say, “Hey, okay, that’s actually what this export supports.” With our permissions, we can restrict it to read-only, but we don’t want to do that because we want to be able to make this a working directory. But I will click the “Enable mount access to subdirectories.” So, we’re not only accessing that data – we’re actually accessing everything inside of data and all the subdirectories involved as well. From here, I’ll just create my export, and we get a green check, which means we’re good to go. We now have two exports available. We have one from our IFS and one from our data. So, now we’ll need to jump back into a Linux box and access this from the command line.

So, from our Linux machine, I’m just going to show my directory path. So, I’m here in the root directory and I’ve got some files here. The first thing I want to do—and one of the ways that I always troubleshoot setting up the NFS mounts—is let’s see what mounts are available. So, we’re going to run a showmount command, and what we’re expecting to see is that IFS export, and also the IFS data that we just set up. So, the syntax is just showmount -e, and it’s going to be our Isilon cluster name. So, I’ve just got an IP address for mine. All right, and just like we expected, we see our IFS data, and then our IFS, and those are both accessible to us. Now all we have to do is create a directory to put this in. So, from our root directory, I’m just going to use an mkdir, and let’s set up a directory called our data-share. Just confirm that it’s there. And now we’ll just that mount command. So, mount [Isilon cluster name]:, which export we’re going to use. Remember, we’re going to use the IFS data, but you could use the IFS and mount to all the data that’s in Isilon. Now we need to put the full path of the directory that we want to put it in. So, we just created the data-share, and then now we should be able to run LS on our data-share. And now we see that we have our data in here. So, we have our Isilon support, we have project data, we have that home share data and that archive data – all mounted here.

So, this is a quick way just to set up an NFS export from a Linux machine to your Isilon cluster. Thanks for joining me for another Isilon Quick Tip.


Filed Under: Isilon Tagged With: Isilon, NFS, OneFS, Quick Tip

Isilon Quick Tips: Setting Up SmartQuotas in OneFS

November 1, 2016 by Thomas Henson Leave a Comment

Learn how to setup SmartQuotas with this Isilon Quick tips Episode.

Transcript

Hello and welcome back to another episode of Isilon quick tips today I want to talk about SmartQuotas. Smartquotas gives you the ability to set quotas on how much data is certain directories users or groups can go through so you’ll find it under our file system and smartQuotas is a licensed feature so you do have to have it license i have it enabled on this cluster and very straightforward let’s go ahead and create a storage quota and talk about our options I go saying you have the ability to set it at the directory level and with directories you can actually do it as a directory subdirectory you can filter down just like you can we r CQ policies or your snapshots we also have the option that you do a user quota and those can be applied to all users or you can actually set it down to individual users if you want and then you also have the option to do group quarters and you can set those groups on your group users or walkthrough just setting up one on a directory quota like this is the most popular one and the one that’s most pliable a lot of use cases and so I said we can set those at the directory and sub directory level so we can come in here and set one on our hdfs directory go ahead and set that policy up so far usage account you can actually set it to include your snapshot data and then you can also set it to include that data protection overhead so this is really giving you a true value of how much storage is being taken up by this group of users are these directories and so if you’re thinking about doing it from accounting perspective where you’re charging back to your users you might want to use this kind of accounting we’re saying hey you know it’s it’s not just about the space that you’re taking up and it’s the data protection overhead how we’re protecting the data then also the snapshots of the data as well i’m going to select any of those but we are going to come down to the usage limits and so this is the area where you can actually set those limitations so you can set it up to be no usage limit and what that is that’s just an accounting feature so if you’re saying hey you know what we don’t really want to set limits on users but we do want to know from accounting perspective how much data is being using on this specific smart program in our case it would be all the data that’s being used on ifs for / hdfs directory so how much is are hadoo storage infrastructure taking up let’s talk about setting up a specific usage limit and so we have three different options with the usage limits the first one is the Advisory limit not call this the nice guy limit so if you set an advisory limit this gives you the ability to come in and let’s just say that we know we’re setting up for ten terabytes and you know our users are you know captain 10 terabytes and it’s just going to send notifications whenever they go over that limitation is not going to stop them from riding and if you’re not going to give him any kind of grace period that’s what i call this one a nice guy the next one is the kind of tough guy and that’s our soft limit and so softly that actually gives you a grace period so if you come in here our directory and we can set it just like we were in our advisory and set it to 10 terabytes and say you know what we’re actually going to give him a grace period of you know 14 days and so what that is is going to allow them 14 days through giving them notifications to clear up and get their data back under you know 10 terabytes or you know however your set it up for you to go back in and say okay you know 10 terabytes went over that you know i’m gonna give you five more terabytes or something like that but it’s us just the kind of tough guy was like okay you don’t have to stop right now but at some point in the future you’re going to and you get to set that grace period the next one is what i call the tough guy and that’s the hard limit and so the hard limits not gonna let you writing any day to past it and so you don’t come back in center by threshold and say hey you know anything over 10 but you’re just not allowed to write you have to pick up phone call us we have to you know come in here and actually take that quote and bump it up for you if you need to but it also gives you the option to show the different space available to so one of the things that i recommend if you doing this hard limit for users is to go in and let them be able to see what that hard threshold is versus the size of the cluster because you want them to be able to say hey you know he’s only ten terabytes available now there’s only you know two terabytes left for bumping up to that limit vs if they’re just looking at the size of the cluster they’re probably thinking oh you know we’re good we can keep store and then one day they’re you know they’re not able to save something to do a lot so just my recommendation and then last but not least you have the option for these notifications so you have disabled the quota notifications use you know the fall trolls or you can actually set up your own custom rules so you just go through and create your quote here now you have your quota set up for your hdfs directory well thanks for joining me in this isilon quick tips and i hope to see you again soon


Filed Under: Isilon Tagged With: Isilon, OneFS, quick tips

  • « Previous Page
  • 1
  • 2

Subscribe to Newsletter

Archives

  • February 2021 (2)
  • January 2021 (5)
  • May 2020 (1)
  • January 2020 (1)
  • November 2019 (1)
  • October 2019 (9)
  • July 2019 (7)
  • June 2019 (8)
  • May 2019 (4)
  • April 2019 (1)
  • February 2019 (1)
  • January 2019 (2)
  • September 2018 (1)
  • August 2018 (1)
  • July 2018 (3)
  • June 2018 (6)
  • May 2018 (5)
  • April 2018 (2)
  • March 2018 (1)
  • February 2018 (4)
  • January 2018 (6)
  • December 2017 (5)
  • November 2017 (5)
  • October 2017 (3)
  • September 2017 (6)
  • August 2017 (2)
  • July 2017 (6)
  • June 2017 (5)
  • May 2017 (6)
  • April 2017 (1)
  • March 2017 (2)
  • February 2017 (1)
  • January 2017 (1)
  • December 2016 (6)
  • November 2016 (6)
  • October 2016 (1)
  • September 2016 (1)
  • August 2016 (1)
  • July 2016 (1)
  • June 2016 (2)
  • March 2016 (1)
  • February 2016 (1)
  • January 2016 (1)
  • December 2015 (1)
  • November 2015 (1)
  • September 2015 (1)
  • August 2015 (1)
  • July 2015 (2)
  • June 2015 (1)
  • May 2015 (4)
  • April 2015 (2)
  • March 2015 (1)
  • February 2015 (5)
  • January 2015 (7)
  • December 2014 (3)
  • November 2014 (4)
  • October 2014 (1)
  • May 2014 (1)
  • March 2014 (3)
  • February 2014 (3)
  • January 2014 (1)
  • September 2013 (3)
  • October 2012 (1)
  • August 2012 (2)
  • May 2012 (1)
  • April 2012 (1)
  • February 2012 (2)
  • December 2011 (1)
  • September 2011 (2)

Tags

Agile AI Apache Pig Apache Pig Latin Apache Pig Tutorial ASP.NET AWS Big Data Big Data Big Questions Book Review Books Data Analytics Data Engineer Data Engineers Data Science Deep Learning DynamoDB Hadoop Hadoop Distributed File System Hadoop Pig HBase HDFS IoT Isilon Isilon Quick Tips Learn Hadoop Machine Learning Machine Learning Engineer Management Motivation MVC NoSQL OneFS Pig Latin Pluralsight Project Management Python Quick Tip quick tips Scrum Splunk Streaming Analytics Tensorflow Tutorial Unstructured Data

Recent Posts

  • Tips & Tricks for Studying Machine Learning Projects
  • Getting Started as Big Data Product Marketing Manager
  • What is a Chief Data Officer?
  • What is an Industrial IoT Engineer with Derek Morgan
  • Ultimate List of Tensorflow Resources for Machine Learning Engineers

Copyright © 2025 · eleven40 Pro Theme on Genesis Framework · WordPress · Log in